
Protecting an iPhone 12 is no small feat, especially when it’s at the mercy of everyday mishaps. Enter the OtterBox Defender—your phone’s personal bodyguard, ready to tackle drops, dust, and the occasional coffee spill. But before it can flex its protective muscles, it needs to be installed properly.
Overview of OtterBox Defender for iPhone 12
The OtterBox Defender provides essential protection for the iPhone 12 against various hazards. Designed with multiple layers, this case absorbs shock from drops and impacts. Its robust construction includes a hard outer shell and a soft inner layer, effectively preventing scratches and damages.
Protection extends beyond drops; the Defender case features dust and dirt resistance. The built-in screen protector ensures that the display remains intact while allowing for easy touch responsiveness. Additionally, port covers keep dust and debris out of openings, contributing to the phone’s overall durability.
Installing the OtterBox Defender correctly maximizes these protective features. Users should follow the step-by-step installation guide to ensure a secure fit. An improperly installed case may not offer adequate protection against potential damage.
Visual appeal remains intact with the OtterBox Defender, as it comes in various colors and designs. The sleek profile complements the iPhone 12’s original design while enhancing grip. An added benefit includes access to all buttons and ports, maintaining functionality without removing the case.
Recommendations suggest checking for wear and tear periodically. Regular inspections help ensure continued performance and protection. For those seeking a strong, reliable case for everyday use, the OtterBox Defender stands out as a top choice, balancing functionality and style in one durable package.
Preparing Your iPhone 12 for Installation
Preparing the iPhone 12 for the installation of the OtterBox Defender involves essential steps to ensure maximum protection and functionality.
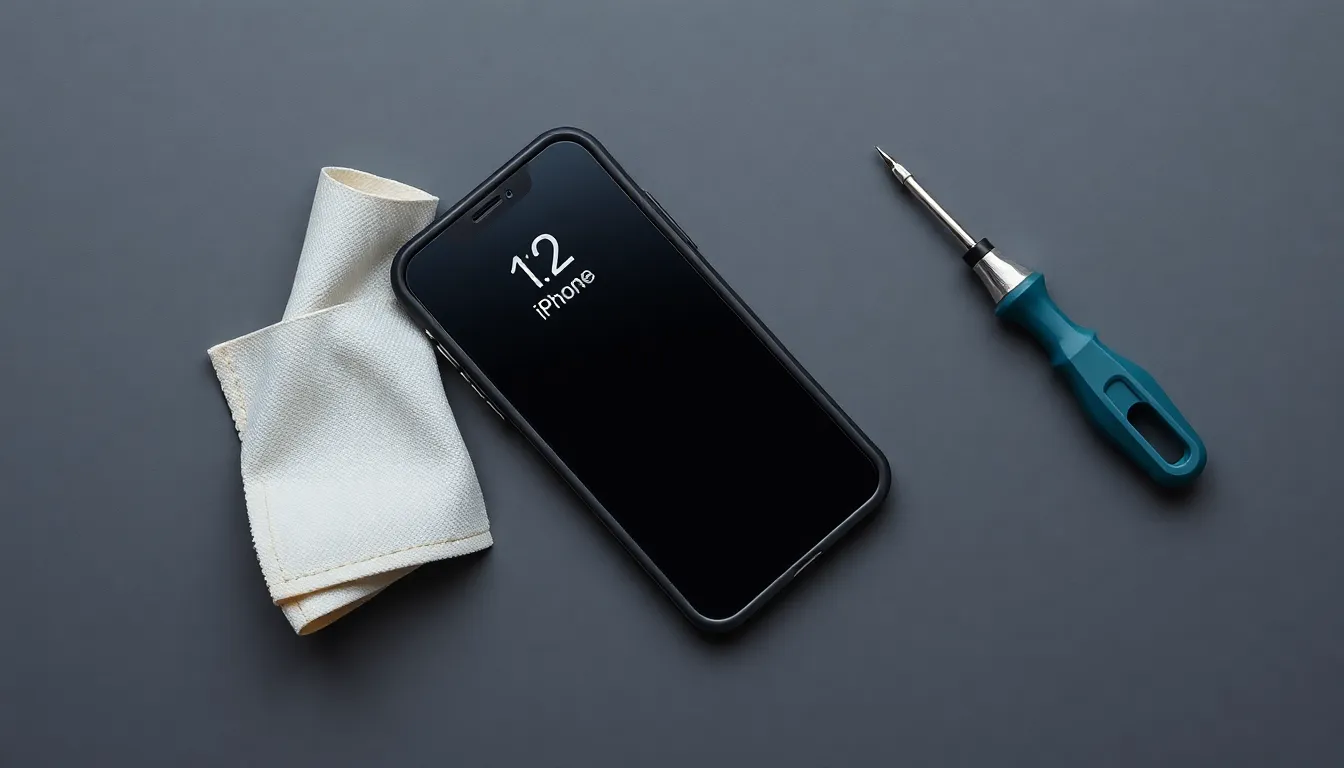
Cleaning Your Device
Begin by powering off the iPhone 12. Use a microfiber cloth to wipe down the screen and back. This action removes fingerprints and smudges. Ensure the ports, buttons, and camera area are clear of dust and debris. It’s crucial to avoid trapping dirt underneath the case, as it can lead to scratches over time. A thorough cleaning sets the foundation for effective installation.
Gathering Necessary Tools
Collect the necessary tools before starting the installation. A small Phillips-head screwdriver is essential for removing screws from the case. Having a clean, flat surface simplifies the installation process. Additionally, some users find a plastic prying tool helpful for separating the case layers. Prepare any tools in advance to streamline the assembly. Ensure all items are within reach to avoid interruptions during installation.
Step-by-Step Installation Guide
Follow these steps carefully to ensure proper installation of the OtterBox Defender for your iPhone 12 and maximize its protective capabilities.
Removing the OtterBox Components
Begin by opening the OtterBox Defender package. Next, locate the two halves of the case. Use a plastic prying tool to gently separate the inner hard shell from the outer silicone layer. Ensure that you handle each component carefully. Remove the built-in screen protector from the inner shell, if applicable.
Installing the Inner Hard Shell
Position the inner hard shell against the iPhone 12. Align the device with the shell, making sure the ports and buttons match up properly. Press down firmly until the phone snaps securely into the inner case. Verify that the hard shell fits snugly around the phone without any gaps. Check that all buttons and ports are accessible before moving on.
Adding the Silicone Outer Layer
Take the silicone outer layer and stretch it over the inner hard shell. Begin at one corner and work your way around the phone. Ensure that the silicone covers all edges and corners effectively, providing a secure fit. Press down along the edges to eliminate any air pockets. Confirm that all ports remain accessible and that there’s no obstruction.
Finalizing the Installation
Inspect the assembled case for proper alignment. Ensure that the screen protector is in place and doesn’t have any dust or debris underneath. Test all buttons and ports to verify functionality. Conduct a quick shake test to ensure the case holds together. Your iPhone 12 is now ready to face daily challenges with the OtterBox Defender’s protection.
Tips for Ensuring a Secure Fit
Inspect the OtterBox Defender components before installation. Examine the inner hard shell and outer silicone layer for any damage or defects. Proper attention to detail during this step can prevent issues later.
Align the hard shell correctly with the iPhone 12. Doing so ensures a snug fit that maximizes protection. Consider pressing down gently on the corners and edges to guarantee the case secures properly.
Add the outer silicone layer after the hard shell installation. Wrap it around all sides of the case, making sure it covers every edge completely. This layer serves as an added defense against drops and spills.
Test all buttons and ports for accessibility. Positioning the case correctly allows users to access features without obstruction. They should check that volume controls, the mute switch, and charging port remain functional.
Perform a final inspection for potential gaps. Ensure that all sections fit tightly together, especially around the screen and buttons. Gaps can lead to exposure and compromise protection.
Regularly check the case after some use. Wear and tear can occur over time, impacting performance. Users should look for signs of damage and ensure the case remains secure.
Consider cleaning the case regularly. Dirt or dust buildup can affect the fit and functionality. Using a microfiber cloth to wipe down the exterior helps maintain clarity and performance.
Installing the OtterBox Defender on an iPhone 12 ensures robust protection against everyday hazards. By following the outlined steps carefully users can achieve a secure fit that maximizes the case’s protective features. Regular inspections and maintenance will help maintain the case’s integrity over time. With its stylish design and reliable functionality the OtterBox Defender stands out as an excellent choice for anyone looking to safeguard their device. Embracing this protective solution allows users to enjoy their iPhone 12 without the constant worry of damage.